 |
| Before |
Hello Iconiers!!!
So it came time to finally concentrate on the front facade!
The photo above shows the before... the rest of this post will show our progress! We are not yet finished, but sometimes it is helpful to see the working transition from boring to fun.

We started by removing those "not-so-Iconi" shutters and giving the white brick, the trim, and the door some color.

Recognize those "hedges"? They are from our Design MMOCA exhibit. They aren't staying here, you will see them disappear and be replaced as this post goes on. Nothing is set in stone at the Iconi Home. Which, if you've been following, I'm sure you've you realized by now! Its an ever changing process! At this point, the part of our curb appeal that gave us the most trouble is the rock/ mulch area in front of the hedges. If you have any examples of cool landscaping you have done with the front of your house, please share!

We moved our lovely (and now fully functioning) mailbox closer to the door. We are able to lock and (more importantly) unlock it now, so it is finally our main mail receptacle. We tried several different options for what we wanted to put in the corner to right of the door. This was attempt one, but it needed more.

We also tried this two level approach. We liked the height it added, so we took it from there.
This picture provides a good look at the... um...lovely original light fixture. Those won't be around long!


We had this tall black planter, so we traded this for the others we had stacked in the corner and instead spread those three out in front of the front window.

We have plans to beef up the wimpy columns out front with some Charred Wood. We will also put a charred board as a header across the top and add some for detail on the windows. The link gives examples and more information, but it is a really cool process. We will use cedar we found at the Habitat Restore, and basically burn it and then immediately put water on it. This seals it and turns the cedar fireproof as well as giving it a very cool color in grey/silver/black brown tones, or as we like to call it, our favorite Sepia tones!

This planting done along the sidewalk was added earlier in the spring. We like that it softens the hard lines of the concrete!
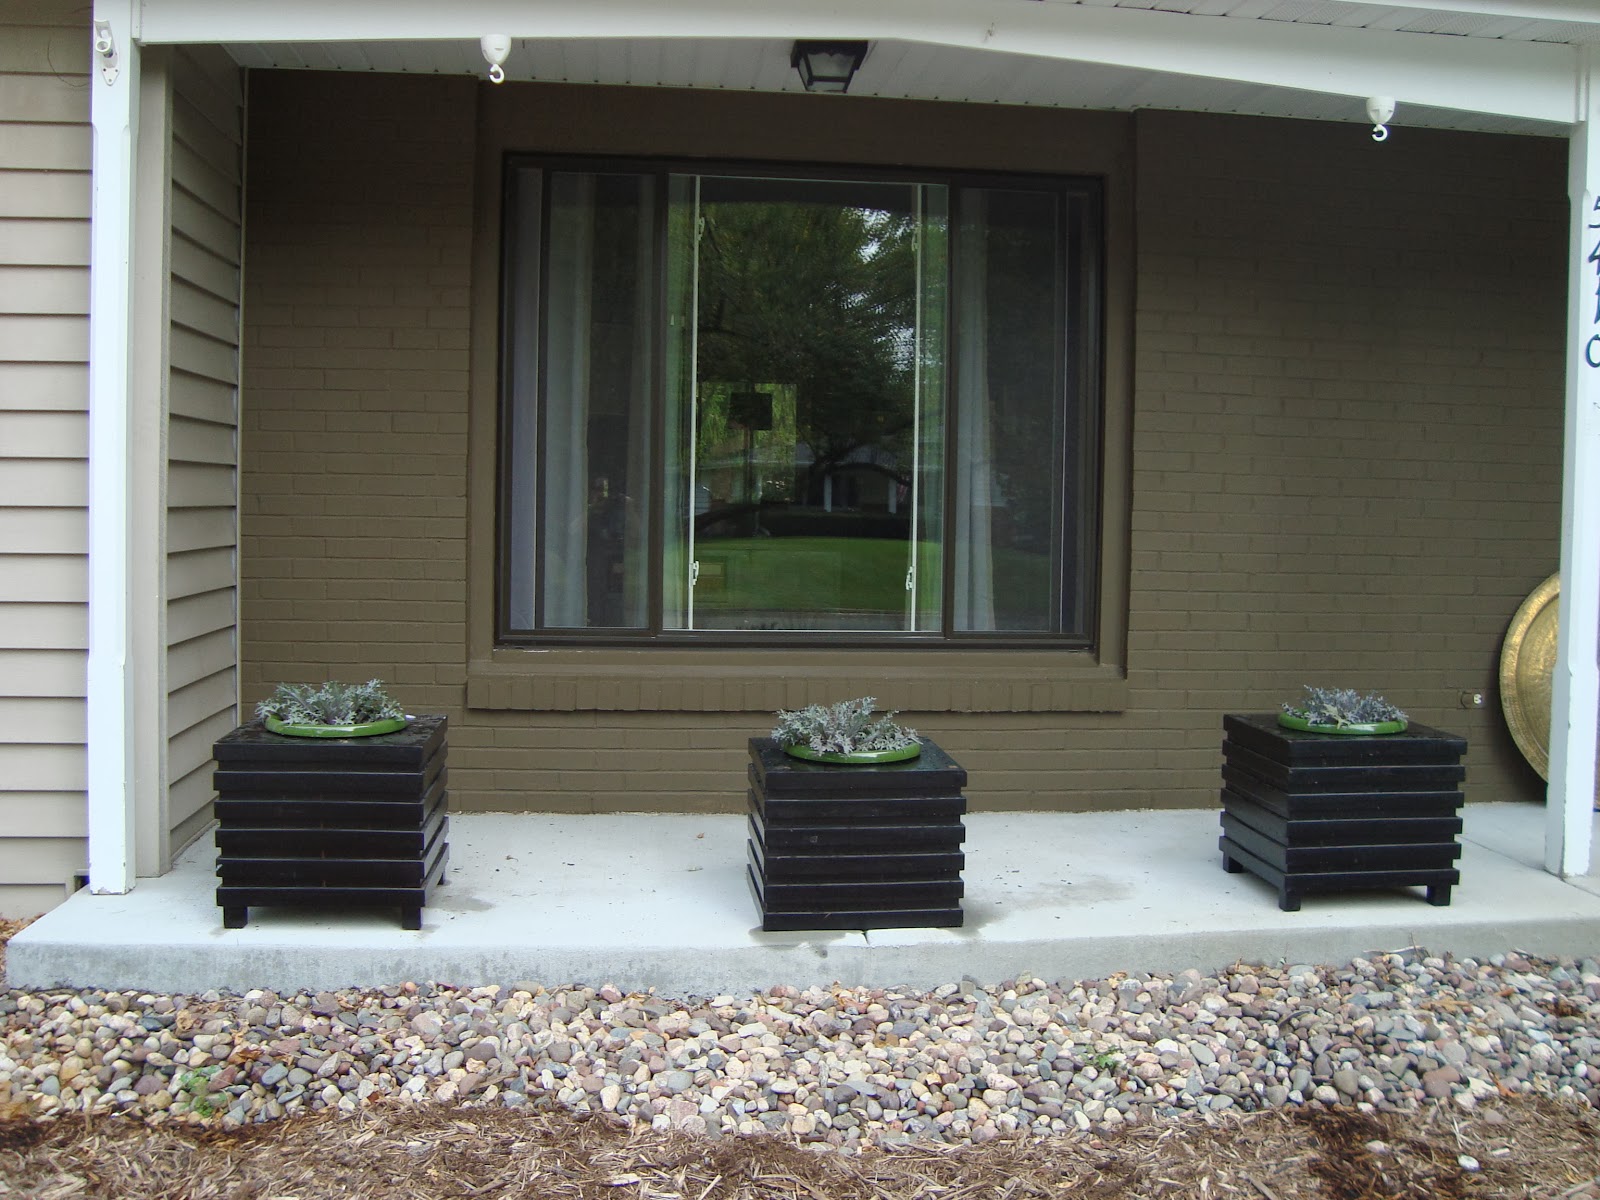
In this photo, the plants are just sitting in the planters. When planted, they will be in full display and not just peeking out, which you will see in the following photos.
The next step was creating a planter to introduce another level and a softer material. The wood becomes a nice contrast against the hard cement and stone.

We filled it with this awesome black mulch!

We then created an organic shape where we had room. Now the sharp angles don't seem as harsh as they once did.

To be continued... with our Charred Wood Front Post!
P.S. Look at our backyard garden grow!


All the fencing on the planters is necessary to keep the bunnies out, otherwise they can just hop up there even though they are 2' tall. Everyone loves the garden including them, and as we recently found out, the chipmunks!
While the bunnies' plans have been thwarted, we found a chipmunk sneaking his way out of the planter with full cheeks the other day. Based on what has been nibbled on; tomatoes, cilantro,... we think they are putting together some really great salsa for their next fiesta!
While the bunnies' plans have been thwarted, we found a chipmunk sneaking his way out of the planter with full cheeks the other day. Based on what has been nibbled on; tomatoes, cilantro,... we think they are putting together some really great salsa for their next fiesta!
Apparently our parsley planter also doubles as a nursery! Look who we found the other day.

No comments:
Post a Comment