Have you voted for Iconi Interiors in the Best of Madison Awards yet? We are very proud and excited to be nominated for the best in home furnishings and accessories! Voting ends the 28th, (4 more days!) Please vote and pass it along. Thank you to those who already have!
Best of Madison Ballot
Happy Friday!
-Iconi Interiors
Friday, February 24, 2012
Saturday, February 18, 2012
A Custom Concrete Kitchen Floor


We started with 8" white tile. Everywhere.
We didn't like it.
We couldn't find any traditional flooring materials that appealed to us, and we were definitely not excited about the idea of having to rip up all that tile. That's when we found our artisan Jeff. Jeff works with custom concrete to create beautiful floors right on top of your existing ugly 8" tile (or whatever your existing flooring may happen to be). The whole process takes about 5 days, but you are able to walk on it by the end of each day if you remove your shoes first. Feel free to slide across in your socks!
We started by picking out a couple paint colors and letting Jeff create a sample board for us. The first one he made didn't work for our colors, but as soon as he brought it in, he realized it and created a new mix for us which was PERFECT!
We were so excited for it to go down. Laying it directly on top of the tile is a process referred to as Microtopping. The material is a Milestone HPC (hybridized portland cement). The cement is applied with a trowel, and tints and aggregates are added for character and color.
We were so excited for it to go down. Laying it directly on top of the tile is a process referred to as Microtopping. The material is a Milestone HPC (hybridized portland cement). The cement is applied with a trowel, and tints and aggregates are added for character and color.

The flooring looks a little more tan in these photos than it really is. The later photos in this post are more true to color.


The finished result is a completely custom beautiful floor which brings some texture and depth to the space. It is extremely durable and long lasting. People comment that it must be a very hard surface but it isn't any harder on the legs than hardwood.
We love this material and are excited about all the future opportunities we have to work with it. As well as flooring, it can be used on fireplace facades, shower surrounds, and plenty of applications that I'm sure we haven't even thought of yet. If you think this material will work well for you, let us know at Iconi Interiors. We can put you in touch with our Concrete Magician Jeff!
So here are the latest photos of our beautiful kitchen!


As you can see in this photo, we have our cabinet up over the microwave. Now we really need to figure out what to do over the stove. 3-form? Barnwood? So many options! We will keep you posted.

We faced the end of the cabinet under the island with barnwood. We love the color and the more organic/ natural feel it adds to the kitchen. It's a nice contrast with the stainless we have on the back counter too. This piece was specifically chosen with our cats in mind! Design for the felines. We are thinking that our kitty cats will eventually realize that they can claw at the soft wood. They will scratch it up and the result will be even cooler! If it gets too scratched up, we can replace the wood easily!


We added an extending towel rack mounted underneath the counter to the side of the cabinet. It pulls out to provide access to the kitchen towels. It's a very convenient functional detail.
 |  |
Because of our plethora of bathrooms in this home. We decided to designate the smallest one off the kitchen as the kitty cats' bathroom. We even gave them a custom door with a coat of chalkboard paint to show off their private club.

So what do you think?! We are very excited to have the kitchen almost done! Have a wonderful weekend!
Monday, February 6, 2012
Part 2 of the Island and a Beautiful Bar
Happy Monday!
We made some more progress on the kitchen that we wanted to share with you. We also needed to show off our bar!
 |
This photo shows the TV we mounted on the wall so that we can turn on some FOOD network or HGTV while we are cooking away! To the left of that wall is the bar area. That inset used to be a closet. At first we just took the doors of the former closet out and were going to keep the bar slightly separated from the kitchen. When we realized that there wasn't a load bearing wall there, all bets were off and out it came. We couldn't use our cool upper cabinet without it being slightly hidden, so when we took the rest of the closet wall out we exposed the entire bar area to the kitchen. 
Before photo: Note the closet we removed where the bar is now.
In the first photo, you also see part of the plywood island we are creating to connect to the granite. We were originally thinking this was going to be a walnut slab, but after playing with the samples in the house, we realized that the walnut seemed too refined for the look we were going for. Instead, we are making this part of the counter out of plywood and painting it. Using this material instead will also be easier on the budget. In the end it will produce a look that is more fitting with the rest of the kitchen. The mats you will see on the floor of our kitchen are a very cool texture. They are mold and mildew resistant and very easy to clean; they just wipe off! They are available in many different sizes as well as custom. Samples of these are available at Iconi Interiors. The flooring deserves a post of its own. More on that and the disappearance of the 8" tile to come! |


We have one more upper cabinet that needs to be placed over this side of the island.


Now onto the bar!
The bar was recreated from an old stereo cabinet. We had this in our last house as well.
Here are a few photos from it in our last home:
The bar was recreated from an old stereo cabinet. We had this in our last house as well.
Here are a few photos from it in our last home:

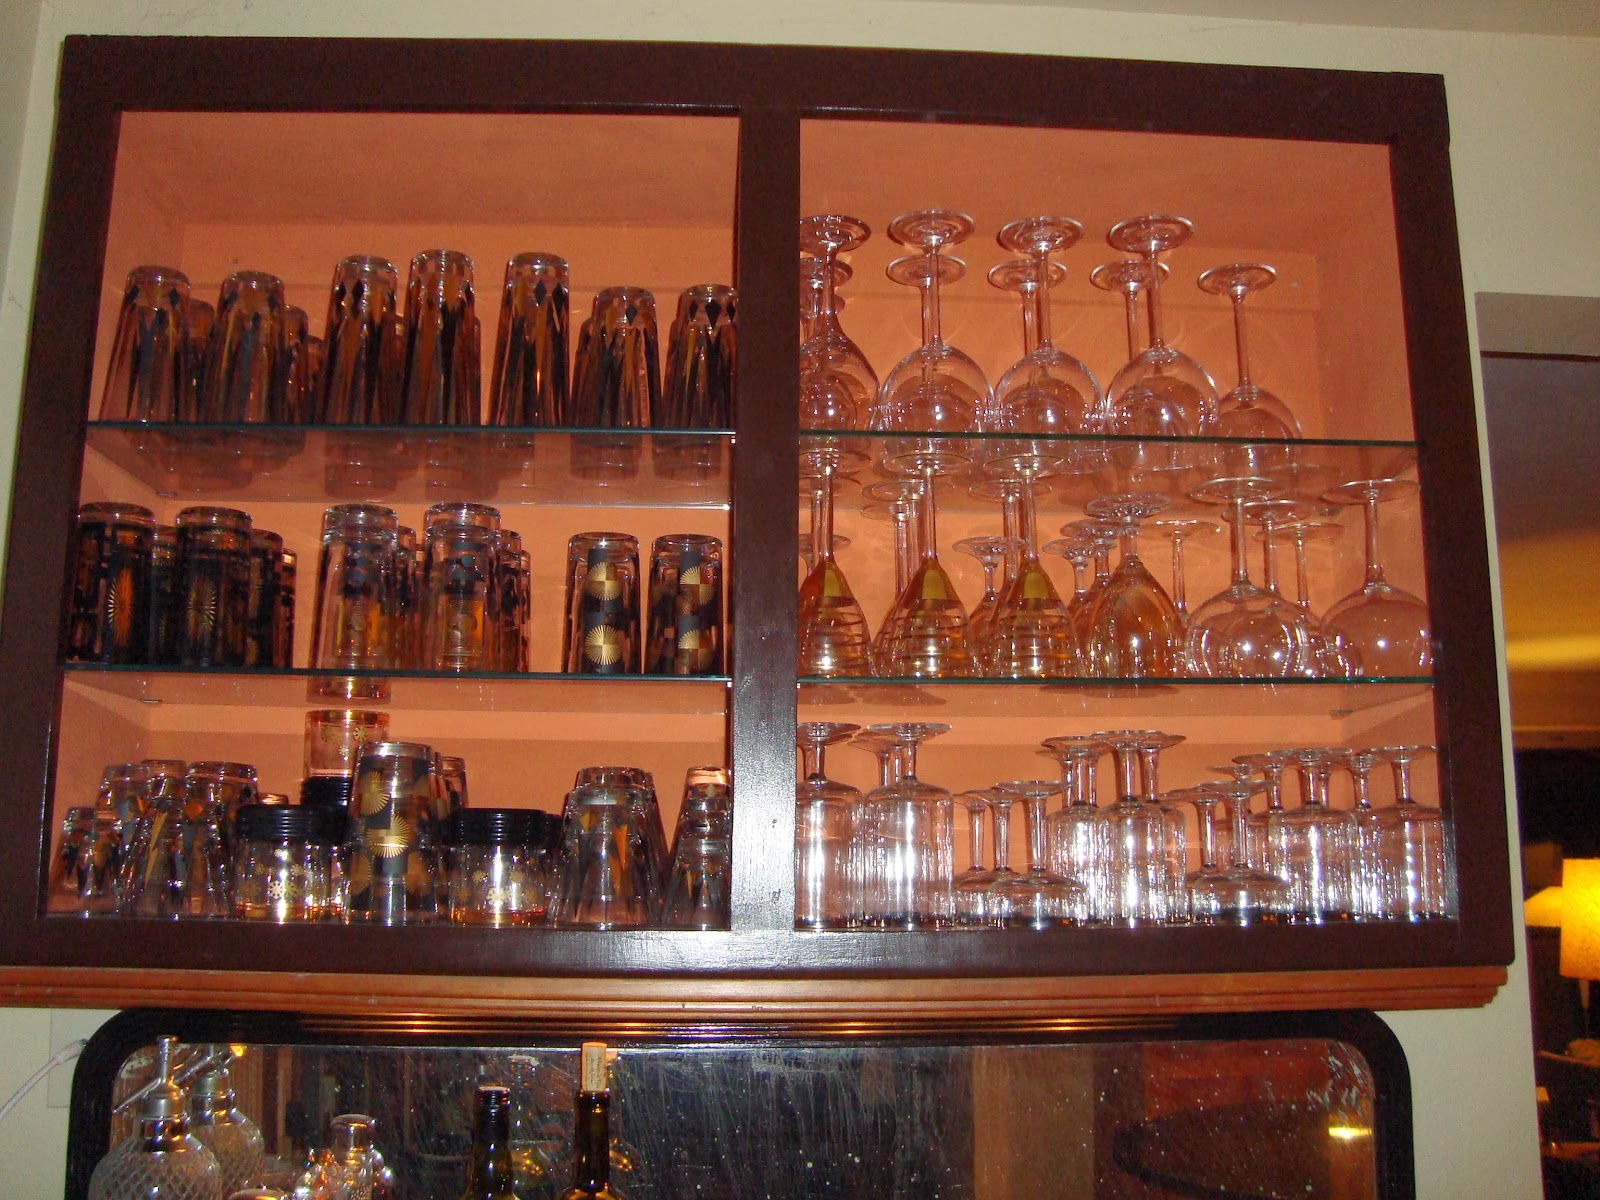
We have since repainted the orange interior of the upper cabinet to a green shade.

Here it is now!


A miniature black or stainless fridge will go to the right of the bar. We are trying to locate one on Craigslist. The wall mounted wine rack to the right consists of two cool fixtures we purchased and then set on wall shelving from Ikea.

Once we get the kitchen finished we hope we will take a small break to get settled and concentrate on our Design MMOCA exhibit for Iconi Interiors. Don't worry, we will still be posting the blog, we have a lot to catch you up on!
Make sure to follow us on Twitter or "Like" our page on Facebook to be updated whenever we post something new! Thanks for reading and sharing!
Awesome kitchen flooring post to come!
Friday, February 3, 2012
Un-minting the bathroom!
Remember this beauty?

Well get a load of this!!!!!

This is the main bathroom in the house.
Our first step was a new coat of paint, and the lighting fixture above the mirror was switched with one found elsewhere in the house. The floor we left alone (at least for now) but added this fun 2x3 Surya Stella Smith rug:

 |  |
We used Valchromat as our surface material and to face the drawers and doors on the cabinet. Valchromat is very green material made from forest waste, residue from timber mills and recycled pine.
What do you think of our transformation?
Valchromat and Surya can both be purchased from Iconi Interiors. Please call us if you have questions!
Subscribe to:
Posts (Atom)